
I’m back for another wonderful CASEing the Catty Design Team blog hop… This week we are CASEing projects from the Floral Romance pages of the Occasions catalogue. So if you’re starting here or joining me from Shannon Kissane, welcome!!

This week, because I couldn’t decided between two cards, found on page 13, so I decided to combine my favourite elements from each card to create one card. My top favourite thing to have on any card is a watercolour element. And guess what? I have never bought Brushos… What?!! Gasp!!

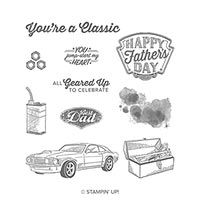
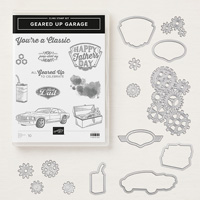
For my card, I decided to use the Classic Garage Suite of products to create my card.

I always get so many questions on how I create my watercolour elements, whilst making this card I finally remember to take photos of the process.
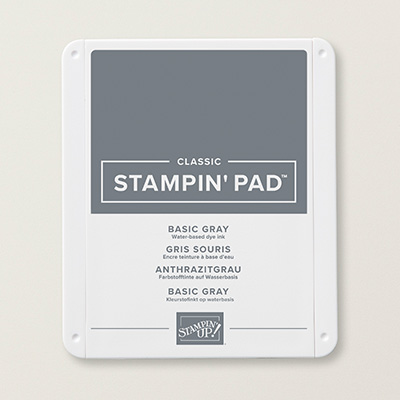
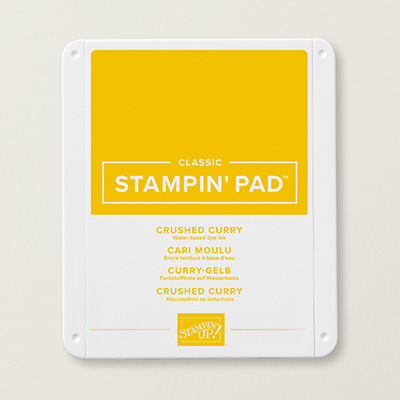
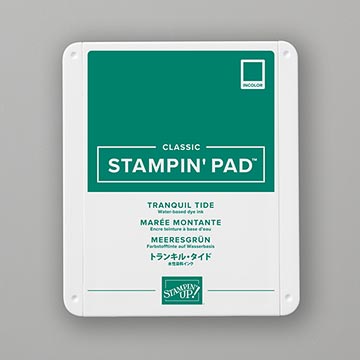
- Ink up Clear Block F (or sometimes I use a plate from the Stamparatus), with your chosen inks. Here I have used Basic Gray, Crushed Curry, and Tranquil Tide.
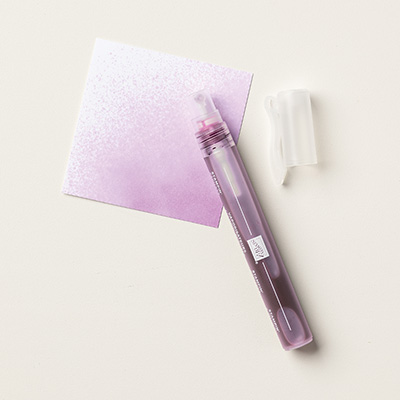
- Spritz with water in a Stampin’ Spritzer bottle.
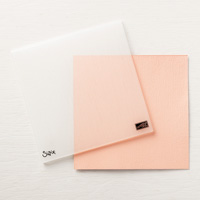
- Lay down a piece of Shimmery White Cardstock, pressing down to get good coverage.
- Lift up to see what you got.
- Dry with a heat tool.
- Repeat steps 3 – 5 again, filling in any white space and creating darker areas. (I added some more Crushed Curry ink to the Clear Block).

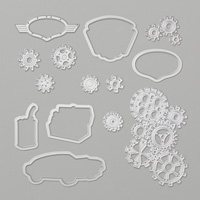
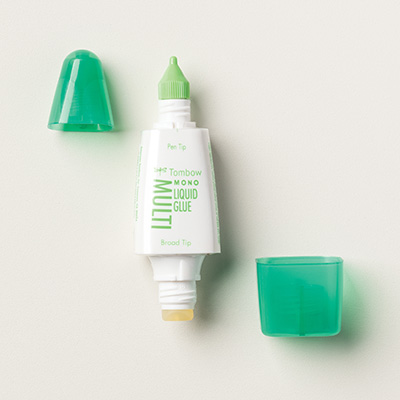
I die cut out two sets of cogs, from the Geared Garage Thinlits, cutting one in Whisper White Cardstock, and another in Tranquil Tide Cardstock (I just the cogs from the inside of the Tranquil Tide layer). I used a Stanley Knife to cut out the centres of all the Whisper White cogs. Then I adhered the Whisper White cogs to the front of the Tranquil Tide cogs, with Multipurpose Liquid Glue.

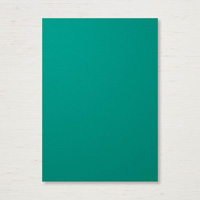
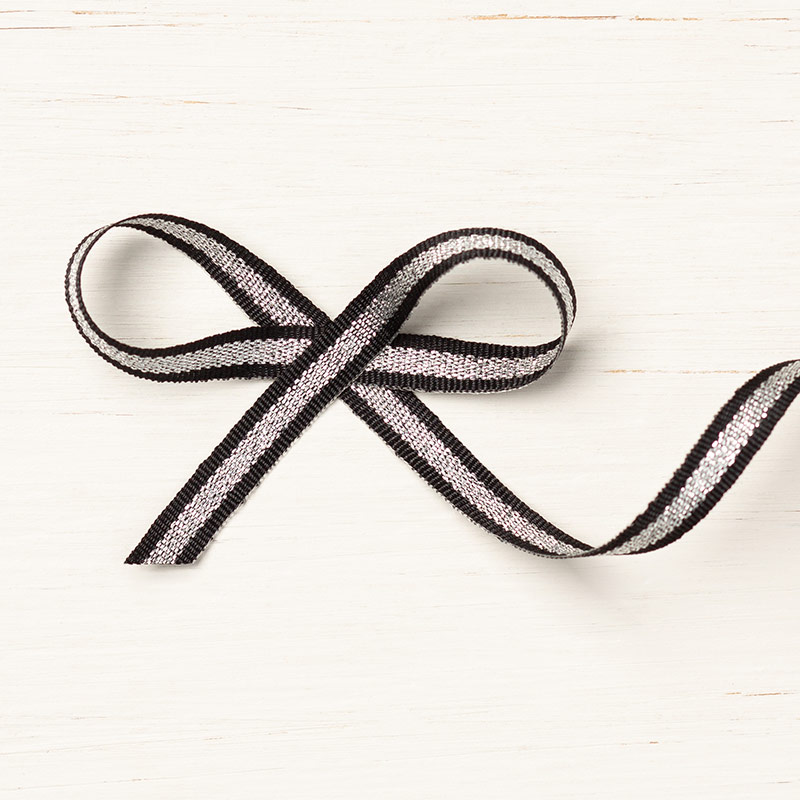
I embossed a piece of Tranquil Tide Cardstock with the Subtle Embossing Folder, then used a Bone Folder to distress all four corners. Adhere the Tranquil Tide piece to a Basic Gray card base with Tear & Tape Adhesive. Then I zigzagged a piece Black/Silver Striped Metallic Ribbon, adhering with Tear & Tape Adhesive.
I adhered down the watercoloured panel with Stampin’ Dimensionals. Then I adhered the cogs to card front with some more Multipurpose Liquid Glue. Finally, I stamped the sentiment, from the Geared Up Garage Stamp Set, in Crushed Curry ink onto a strip of Whisper White Cardstock. Then adhered to the card front with Stampin’ Dimensionals.

Thanks for stopping by, next up is Michelle Strazds.

I hope we have inspired you to CASE projects from the SAB Mini. So, please join us over on our Facebook Group.
Until next time… Happy Stampin’,
Lauren
If you enjoyed this post, please be sure to…
- Receive three FREE Exclusive PDF tutorials + PDF tutorials of my card created for this blog when you subscribe to my newsletter here.
- Check out the Clearance Rack and save up to 60%.
- Save 10% on coordinating product bundles.
- The $169 Starter Kit is the best deal of any catalogue! Check out the Discounts & Benefits here.
- Follow me on Instagram, Facebook & Pinterest.
Love this card? Save it to your favourite card Pinterest board!
Supplies Used:


I love this, the water colour background is perfect. Thanks for the explanation, I hadn’t thought to use a stamparatus plate.
LikeLiked by 1 person
Thanks for sharing how you made your awesome background. You really do an amazing job of them.
LikeLiked by 1 person
Thanks Simone!!
LikeLike
Thank you for sharing how you create your background. I’ll have to try it! It’s a perfect card for a boy!
LikeLiked by 1 person
Thanks Bec!!
LikeLiked by 1 person
Wow, great CASE Lauren. I love your watercolour background, it looks amazing. I also love how you’ve layered the cog dies, I will definitely be trying this technique.
LikeLiked by 1 person
Loved your card Lauren… thank you sharing instructions on the watercolour background. I really love that.
LikeLiked by 1 person
I love how this turned out, Lauren. Thank you for sharing the process in such detail. I think I really need to get some brushes and try that out. Love the colours you’ve chosen.
LikeLiked by 1 person
Great masculine card and the background looks amazing
LikeLike
Thanks Michelle!
LikeLike
This art piece is magnificent! What a fabulous inspiration, Lauren.
LikeLiked by 1 person
Thanks Rachel!!
LikeLike
This is soooo cool! What an amazing male card! Thanks for sharing your process for the background.
LikeLiked by 1 person
Thanks Tina, you’re very welcome!
LikeLike
The two toned cogs are amazing. Brilliant idea with stunning results which is shown off brilliantly by the luminosity of the watercolour background! Great guy card.
LikeLiked by 1 person
Thanks Julia!!
LikeLike
What a fabulous masculine card, Lauren. I need to try out your technique for backgrounds (I don’t have Brushos either, lol).
LikeLiked by 1 person
This is sensational Lauren!!! Fantastic use of the catalogue to inspire a totally new project. Kelly x
LikeLiked by 1 person
Thanks Kelly!!
LikeLike